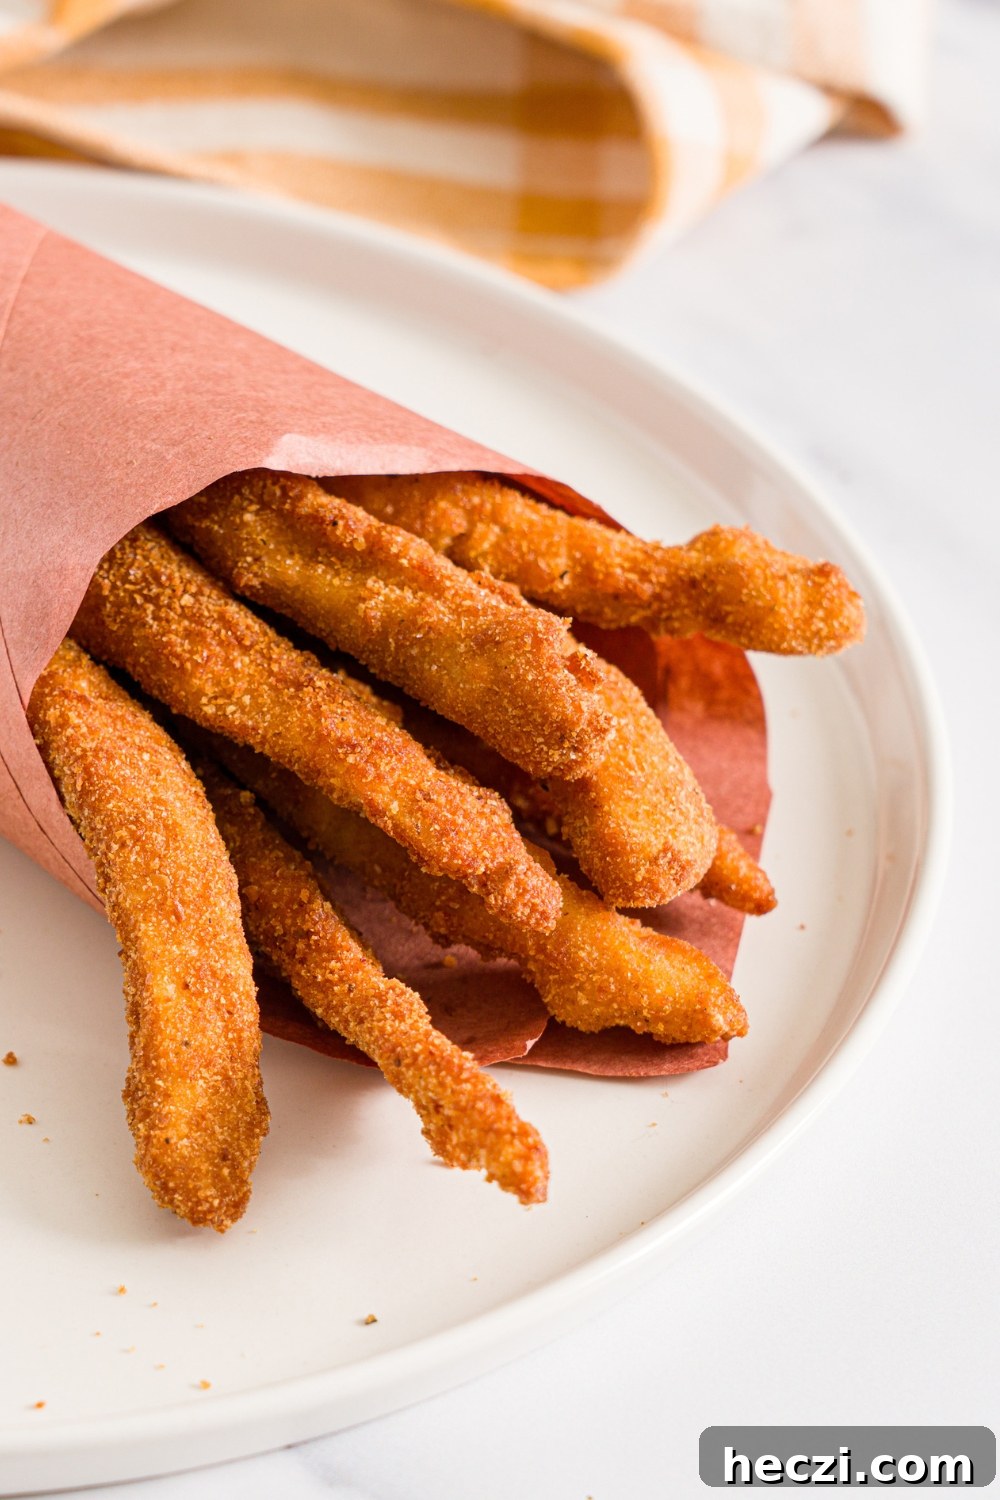
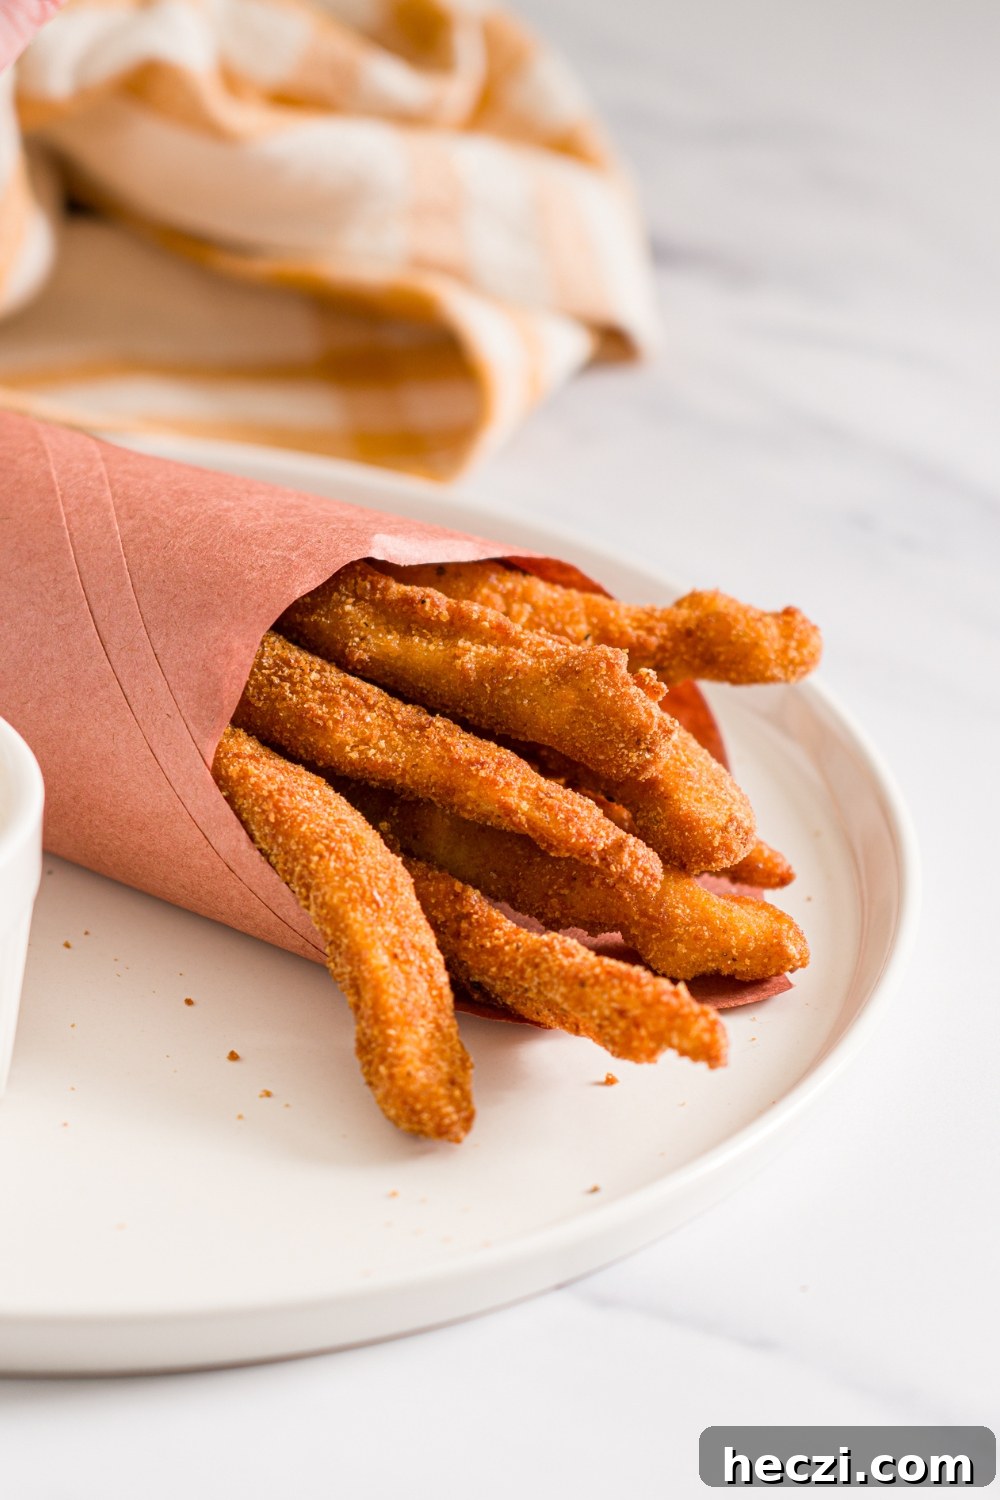
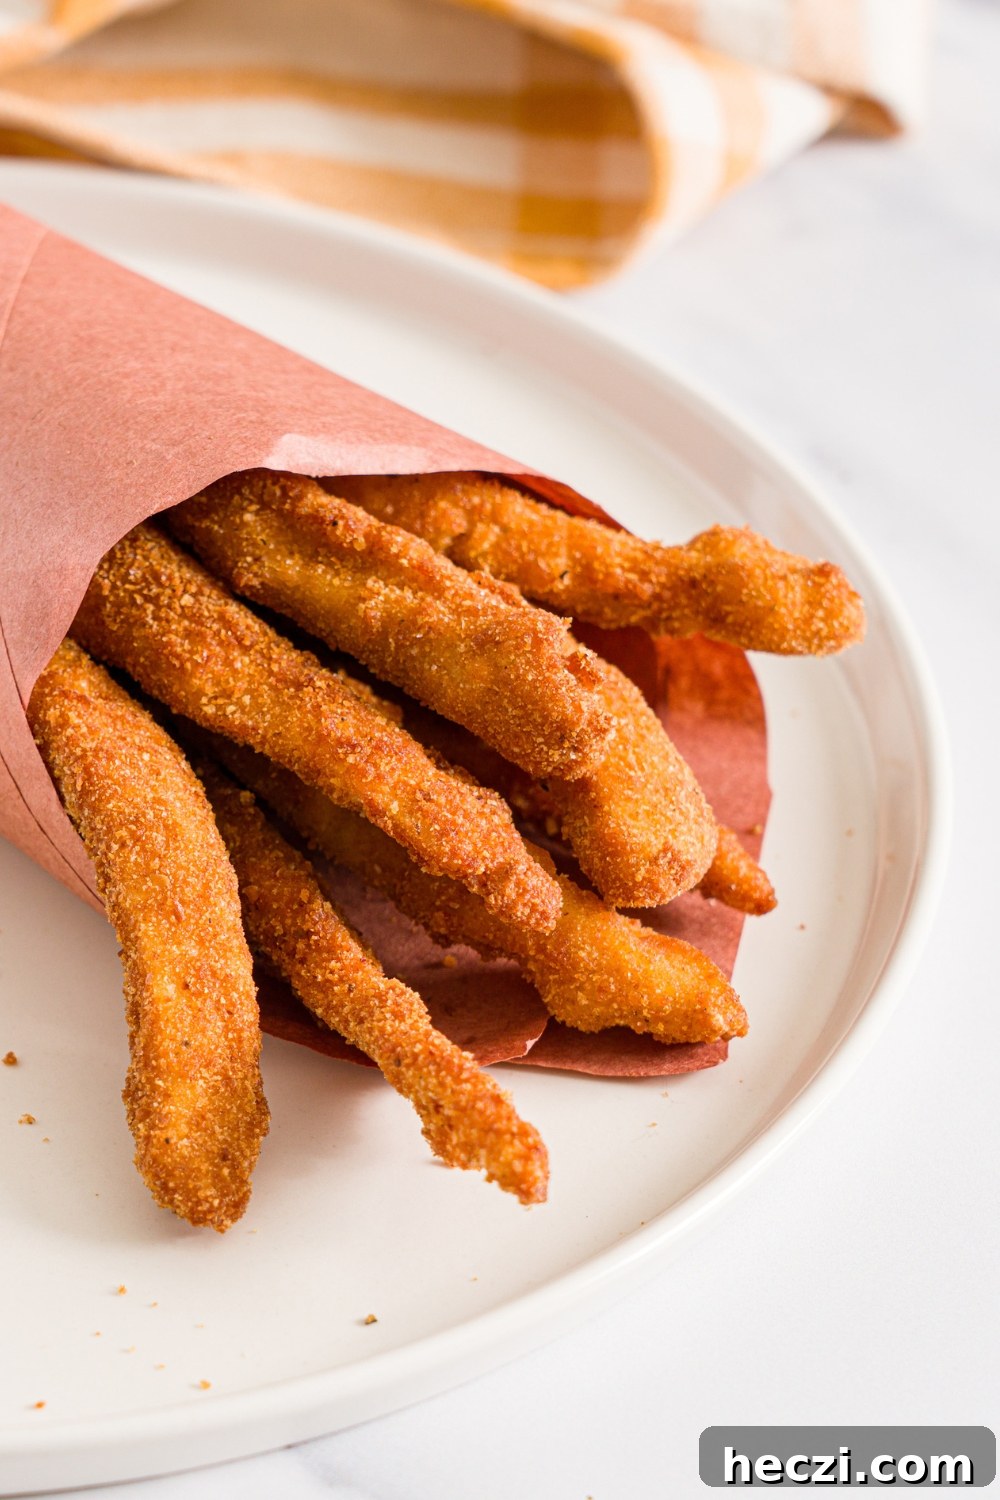
If you’ve ever opened a box of Burger King chicken fries and thought you could make them better at home, you’re right. These homemade chicken fries are golden, crispy, and seriously addictive, made with real chicken breast and simple pantry staples. They fry up crunchy on the outside and juicy inside, and the roasted garlic aioli elevates them to something special. Perfect for game day, parties, or any night you want a nostalgic, satisfying snack.
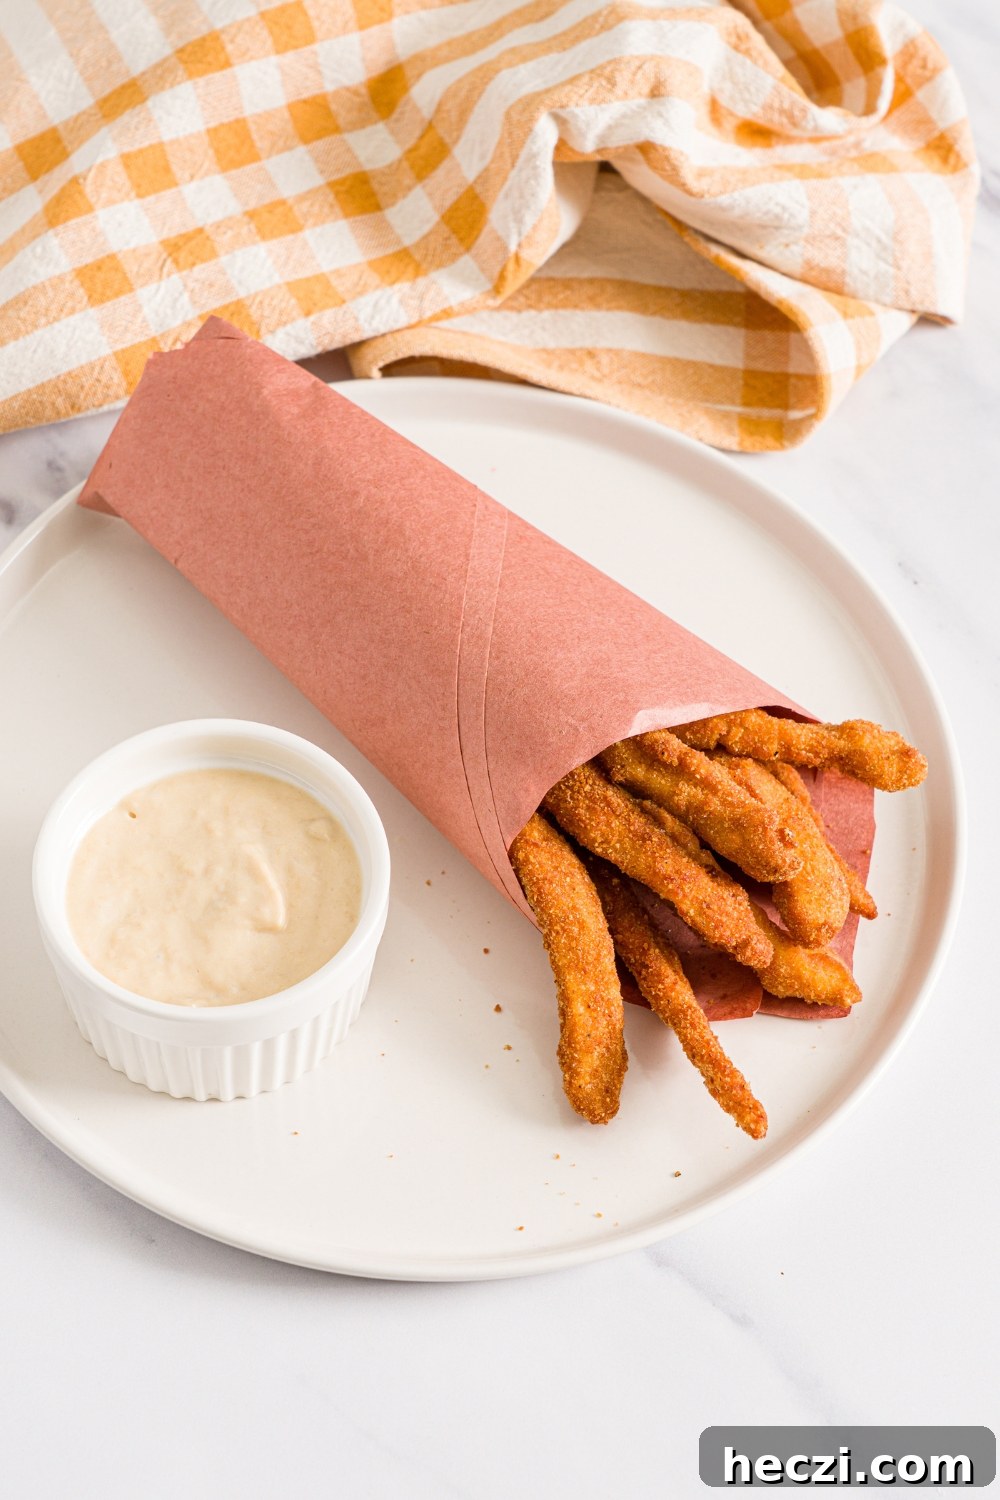
Table of Contents
Why You’ll Love This Chicken Fries Recipe
These chicken fries capture the fun, snackable feeling of the fast-food favorite but use real chicken breast so the texture is clean and juicy. The breading becomes extra crispy when fried correctly, and the roasted garlic aioli adds a mellow, savory-sweet dip that keeps you reaching for more. They’re easy to scale up, making them a great choice for serving a crowd or preparing leftovers.
Ingredients You’ll Need
Roasted Garlic Aioli Sauce:
- 1 garlic bulb, cut in half cross-wise
- 1 tablespoon olive oil
- 1 cup mayonnaise
- 1 tablespoon lemon juice
- 1 teaspoon Worcestershire sauce
- Salt and pepper, to taste
Homemade Chicken Fries:
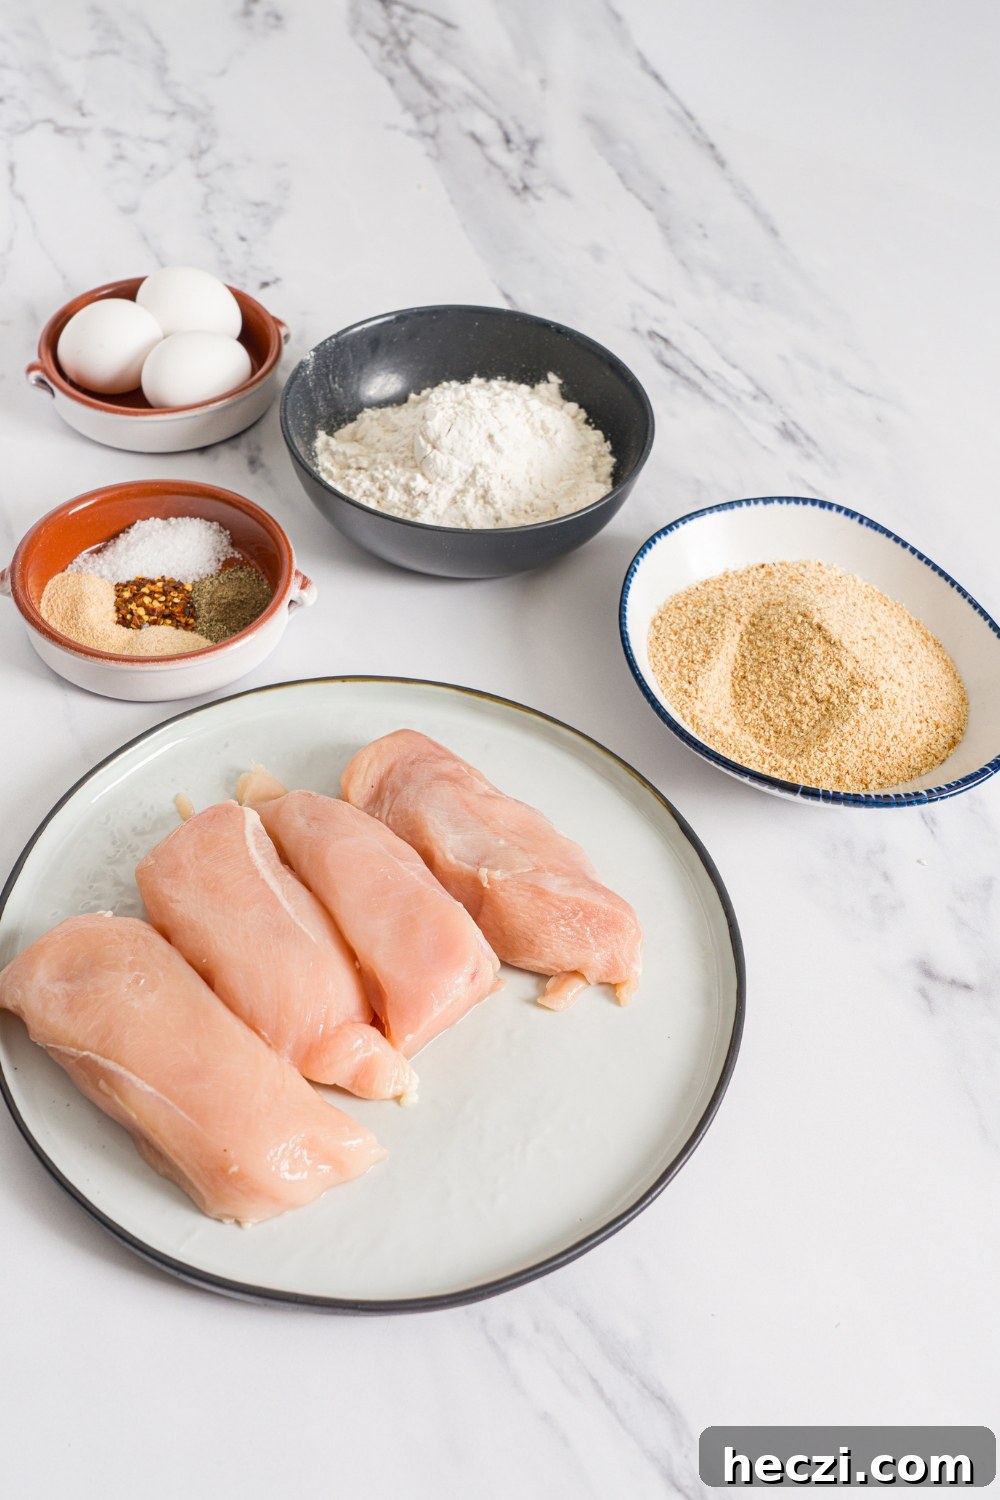
- 1 pound thin-cut boneless chicken breast
- 1 tablespoon garlic powder
- 1 tablespoon onion powder
- ½ teaspoon dried red chili flakes
- 2 teaspoons salt
- 1 teaspoon black pepper
- 1 cup all-purpose flour
- 3 large eggs
- 2 cups breadcrumbs
- Vegetable oil, for frying
Ingredient Notes and Easy Swaps
- Thin-cut chicken breast: Thin-cut breast slices are easy to shape into fries and cook quickly without drying out. If using regular breasts, slice them into thinner cutlets first, then cut into fry-like strips for even cooking.
- Breadcrumbs for crunch: Standard breadcrumbs give a classic coating; swap half for panko if you want a lighter, extra-crispy texture.
- Roasted garlic transforms sharp raw garlic into a sweeter, buttery flavor that makes the aioli taste rich without overpowering the chicken.
- Oil temperature matters: Keep frying oil around 350°F. Too cool and the coating will absorb oil; too hot and the outside will brown before the center cooks.
- Sauce swaps: No mayo? Use Greek yogurt for a lighter dip. No lemon juice? A splash of white wine vinegar provides acidity. No chili flakes? Replace with a pinch of cayenne.
- Seasoning boost: Add 1 teaspoon paprika or smoked paprika to the flour for extra color and flavor.
How to Make Homemade Chicken Fries
Step 1: Roast the garlic
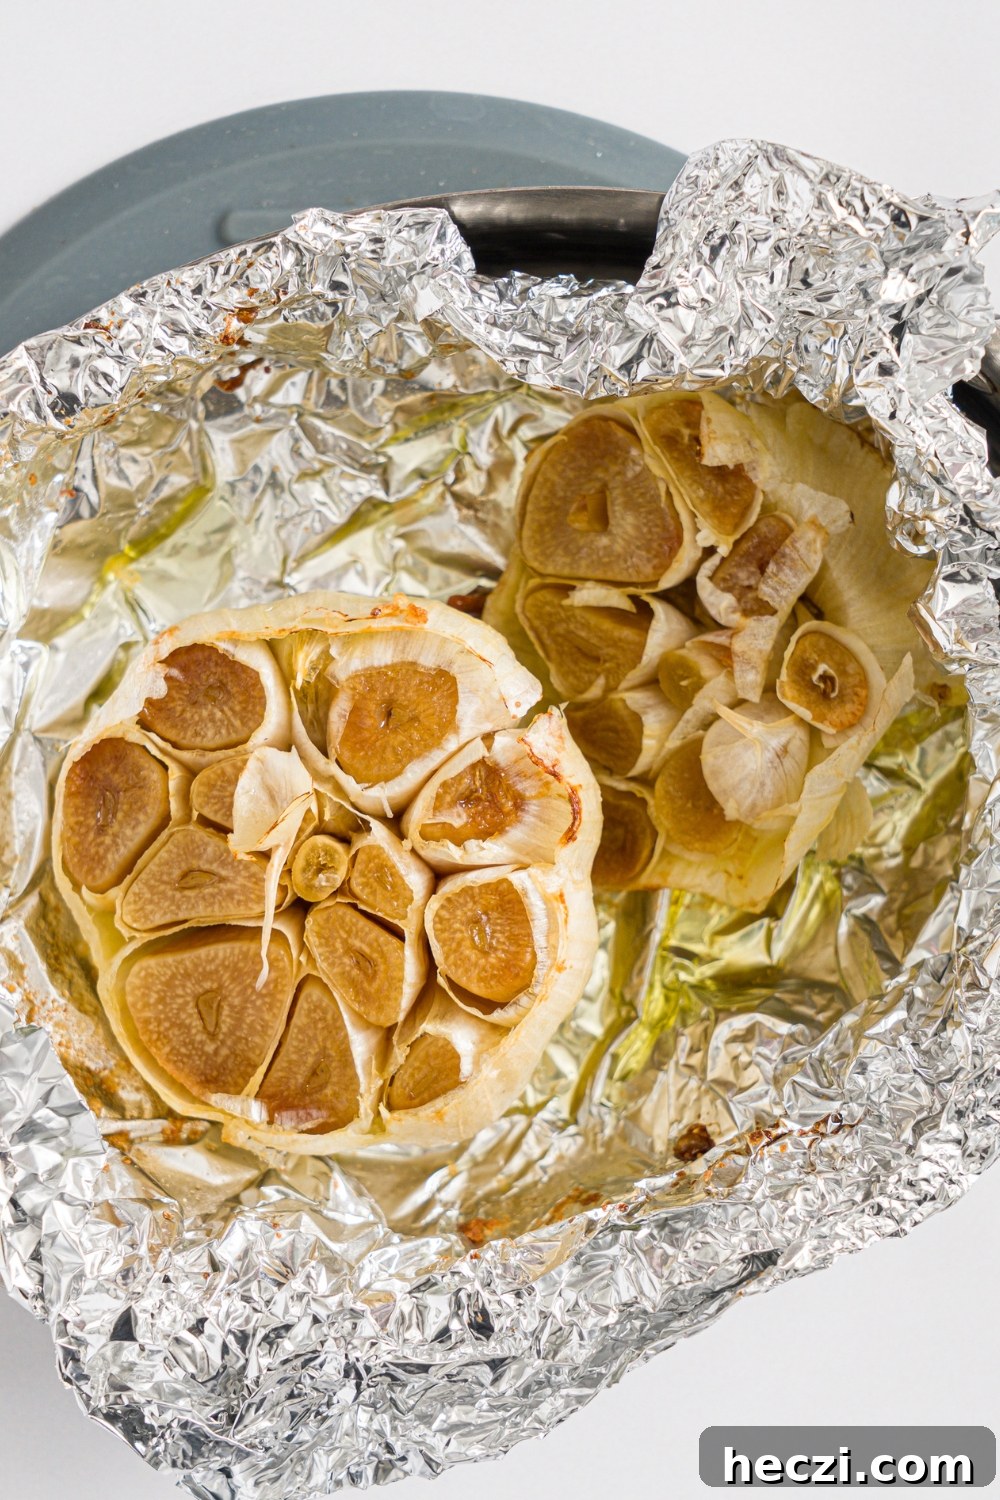
Preheat the oven to 375°F. Place the halved garlic bulb on a double layer of foil, drizzle the cut sides with olive oil, and sprinkle with a pinch of salt. Wrap tightly and roast 30–35 minutes, until soft and golden. Let cool slightly before squeezing the cloves out to use in the aioli.
Step 2: Make the garlic aioli
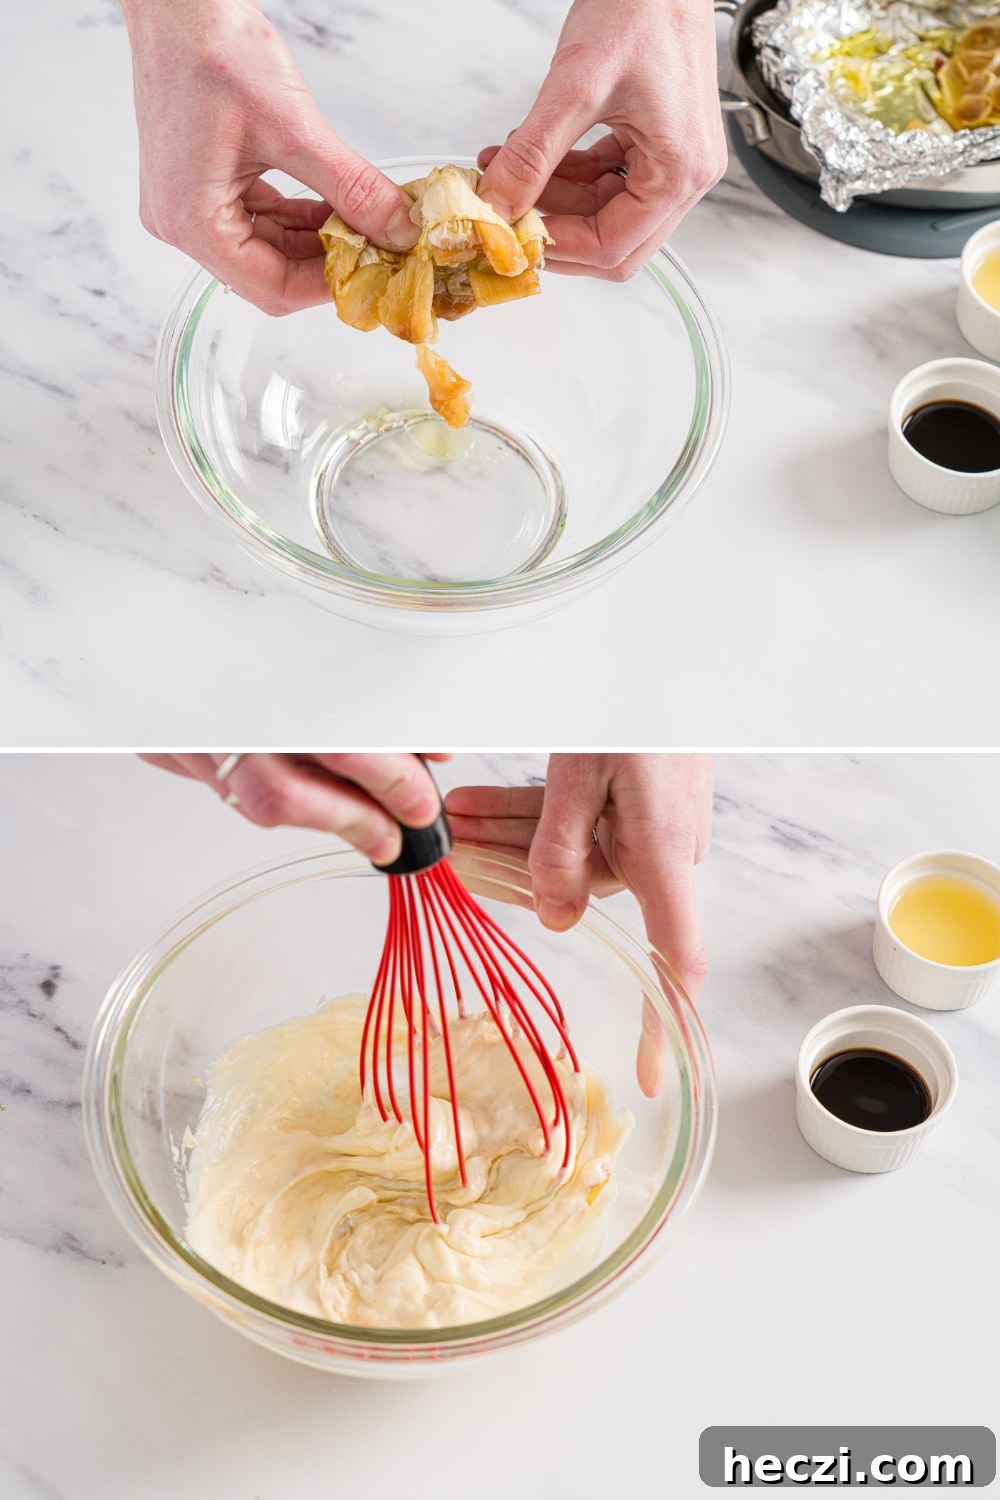
Squeeze the roasted garlic into a bowl and mash to a paste. Add mayonnaise, lemon juice, Worcestershire sauce, salt, and pepper. Whisk until smooth, taste and adjust seasoning. Chill until serving — the flavors mellow and improve after a few hours.
Step 3: Slice and season the chicken
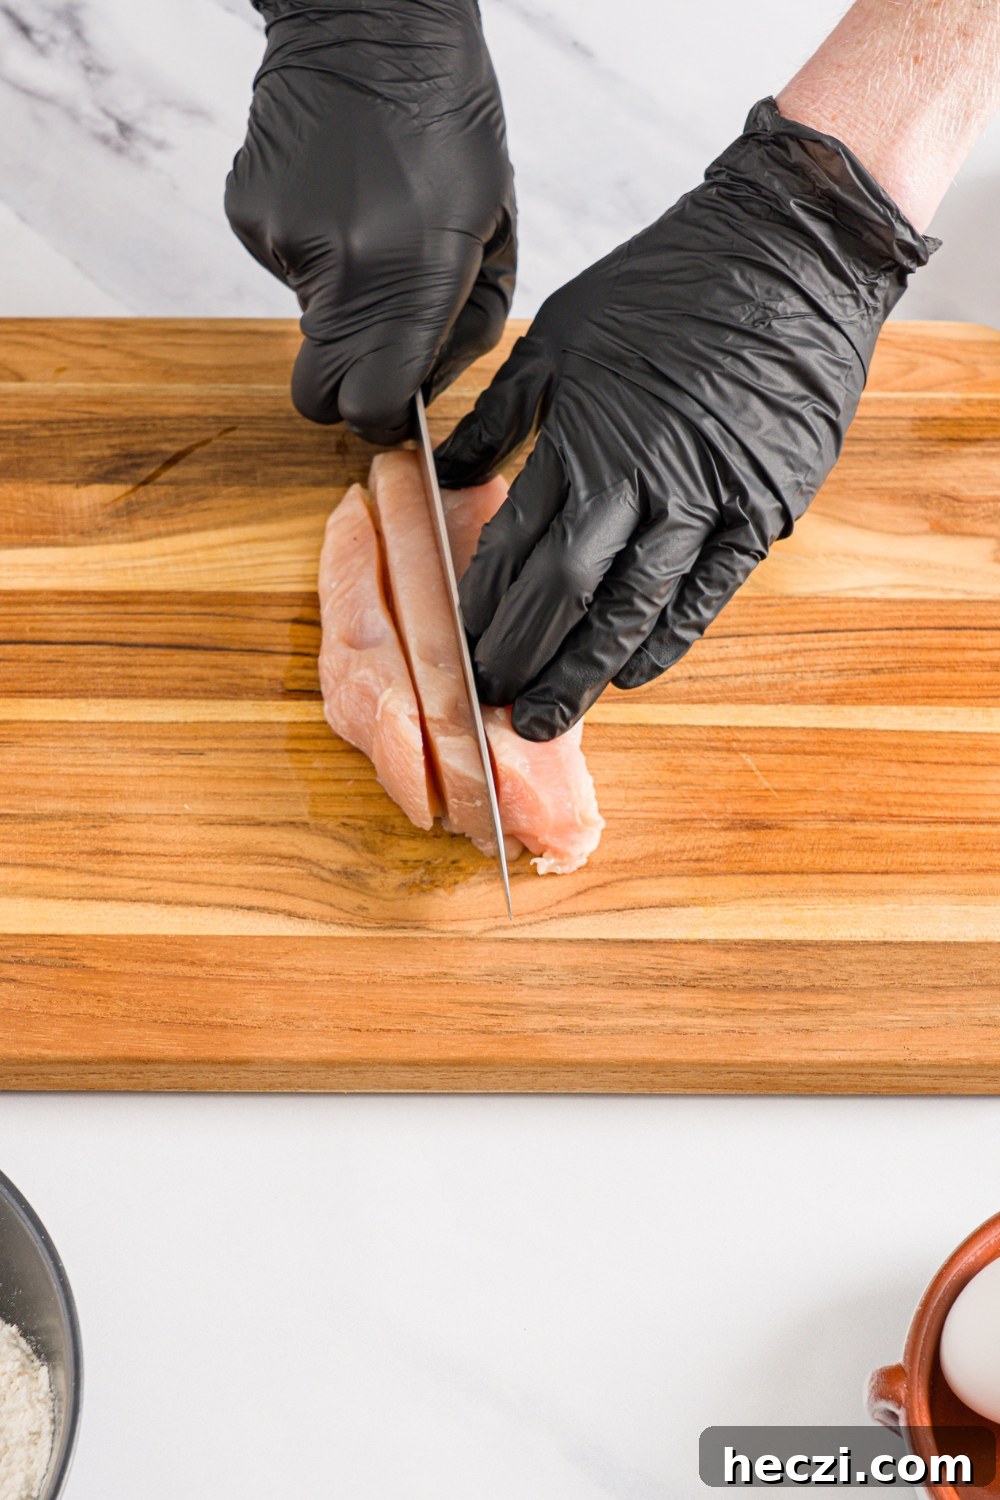
Slice the chicken into thin strips about ½ inch wide so they resemble fries. Pat dry and season with salt and pepper for even flavor.
Step 4: Set up the breading station
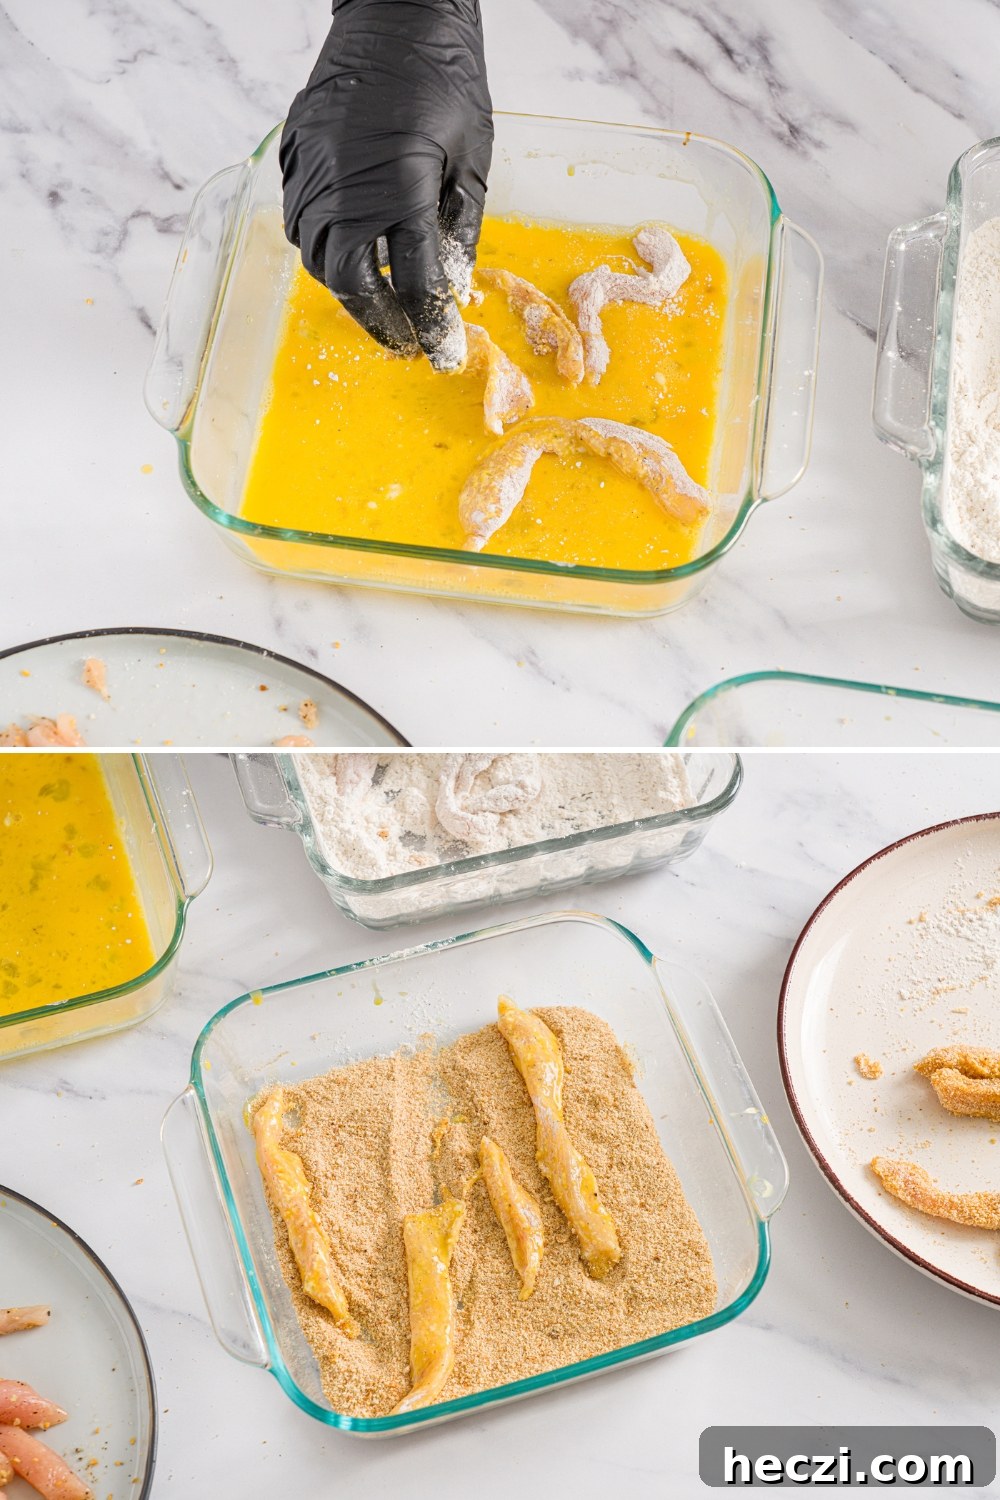
Arrange three bowls: beaten eggs in one, seasoned flour (flour plus garlic powder, onion powder, chili flakes, salt, and pepper) in the second, and breadcrumbs in the third. This keeps the coating process neat and efficient.
Step 5: Bread the chicken fries
Coat each strip in the seasoned flour, shake off excess, dip into the egg, then press into breadcrumbs. Press gently so the crumbs adhere and form a sturdy crust.
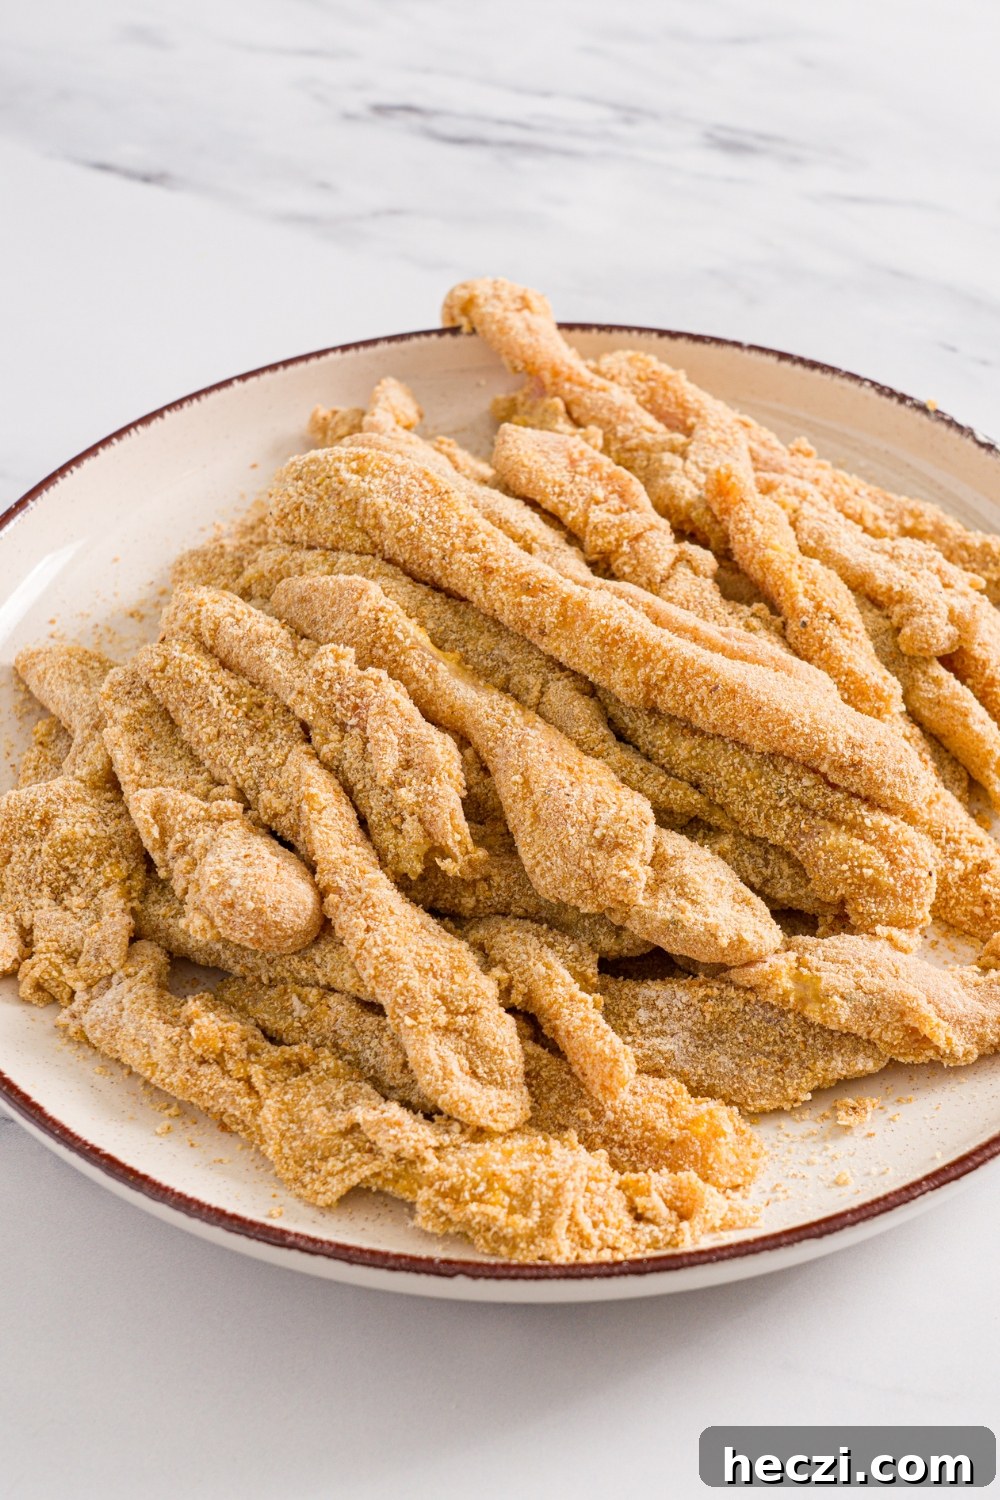
Step 6: Fry until crispy
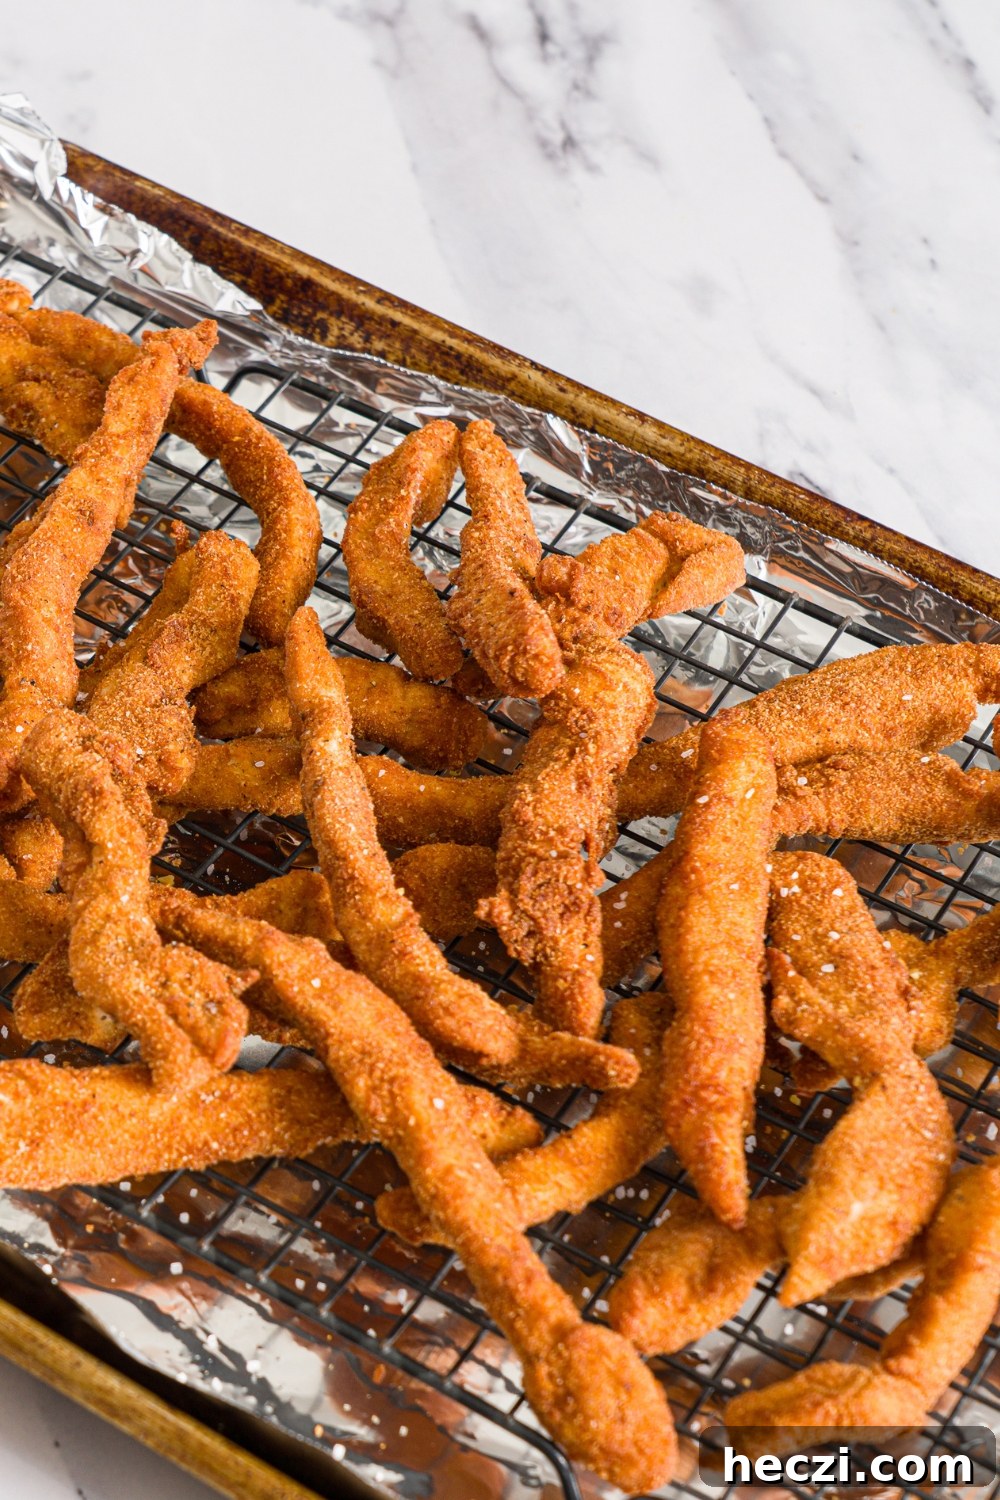
Heat oil in a large pot over medium-high heat to about 350°F. Fry the chicken strips in batches, 2–4 minutes per side, until golden and cooked through. Avoid overcrowding, and drain cooked pieces on paper towels or a wire rack. Maintain oil temperature between batches for consistent results.
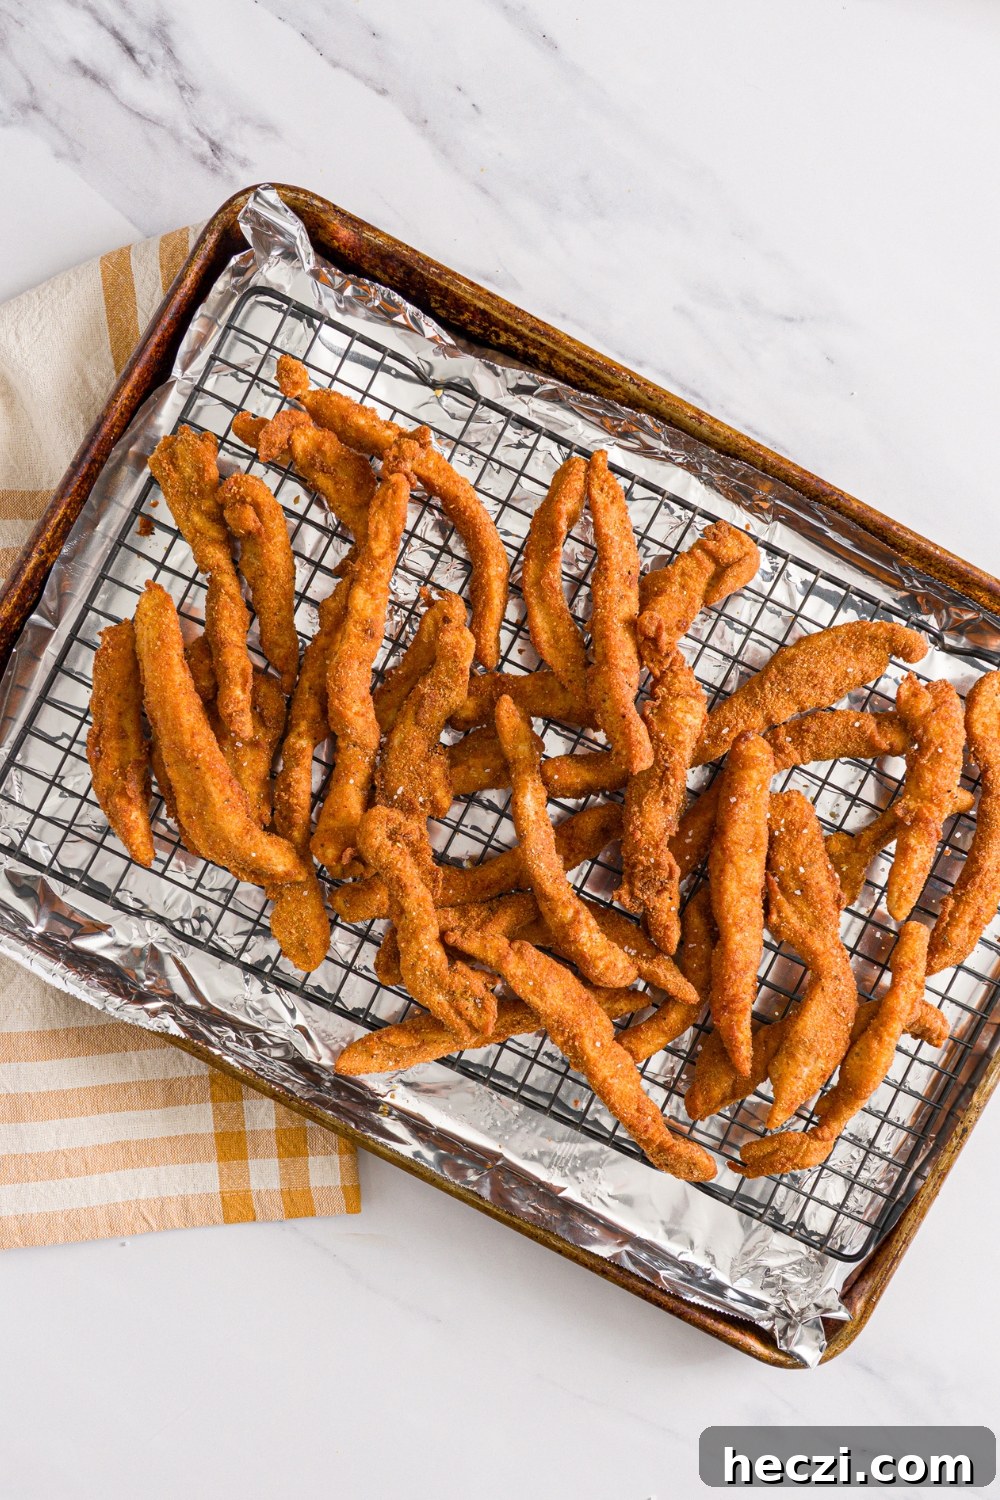
Step 7: Serve
Serve the chicken fries hot with the roasted garlic aioli on the side. They’re best fresh from the fryer but re-crisp nicely in the oven or air fryer if needed.
Pro Tips To Make The Best Chicken Fries at Home
- Cut even strips: Uniform pieces cook evenly and avoid dry or undercooked bites.
- Season the flour: Flavor the coating, not just the meat, for the best tasting crust.
- Use one hand for wet and one for dry: Keep the breading station tidy and the coating even.
- Press breadcrumbs on: Pressing helps crumbs stick and yields a thicker, crunchier crust.
- Maintain oil at 350°F and fry in batches: Proper temperature prevents greasy or burnt results.
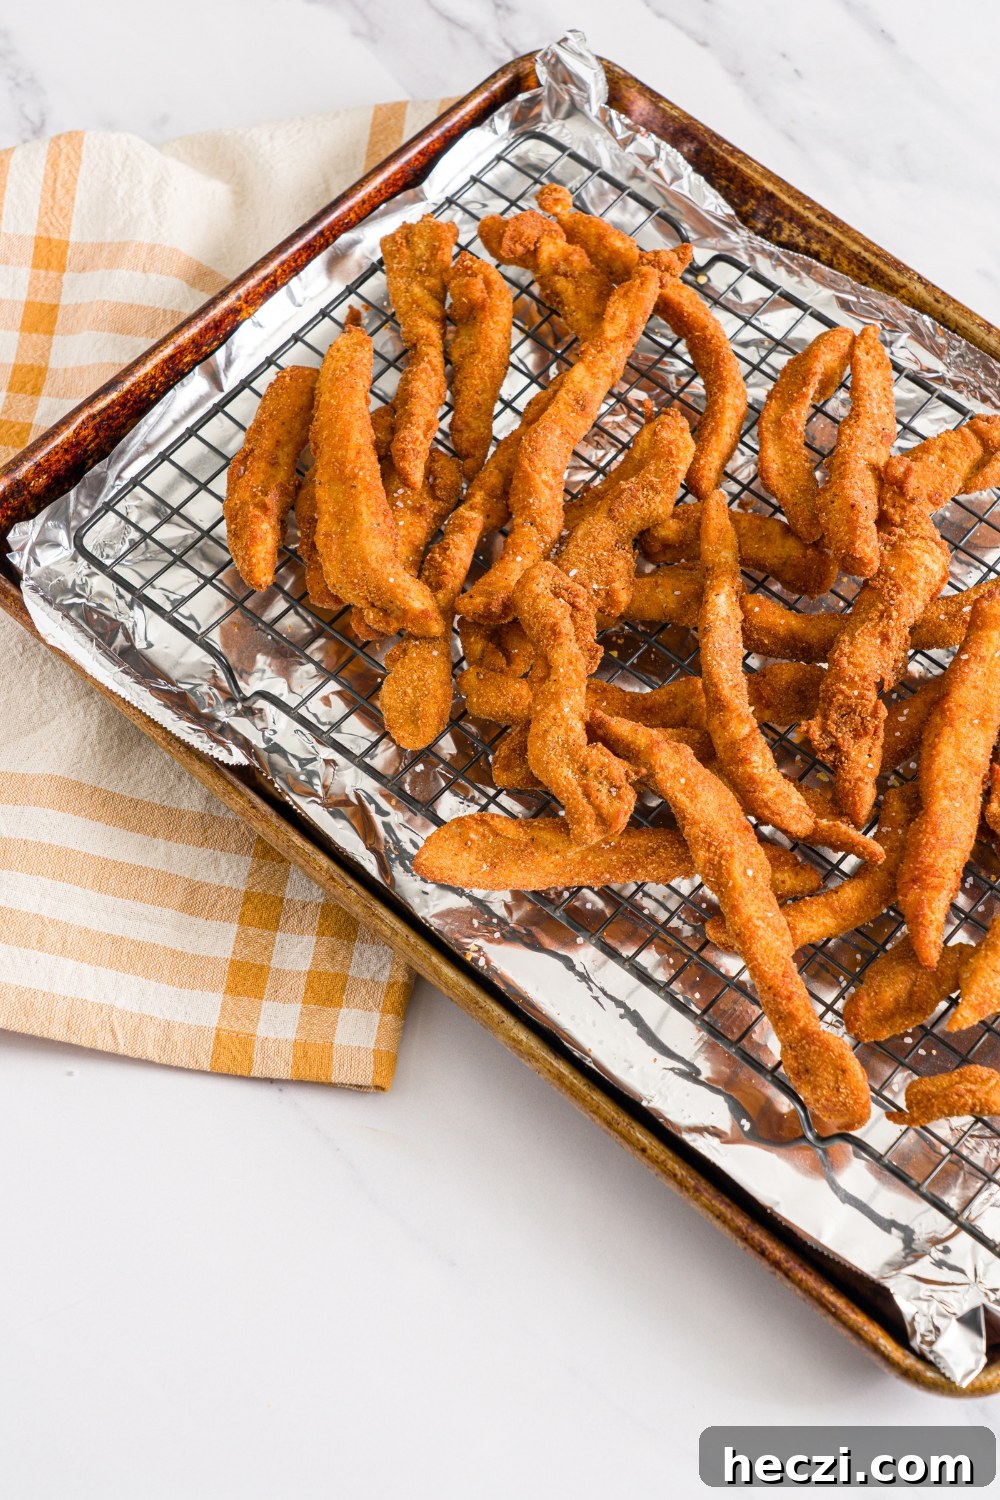
- Drain on a rack when possible: A wire rack keeps air circulating and preserves crispness better than paper towels.
- Rest briefly after frying: Let crust set for 1–2 minutes to stay crunchy, especially when frying multiple batches.
- Check doneness: The thickest piece should be opaque and firm; with a thermometer aim for 165°F internal temperature.
- Balance the aioli: Start with less roasted garlic, taste, then adjust lemon, salt, and pepper so it complements the chicken without overpowering it.
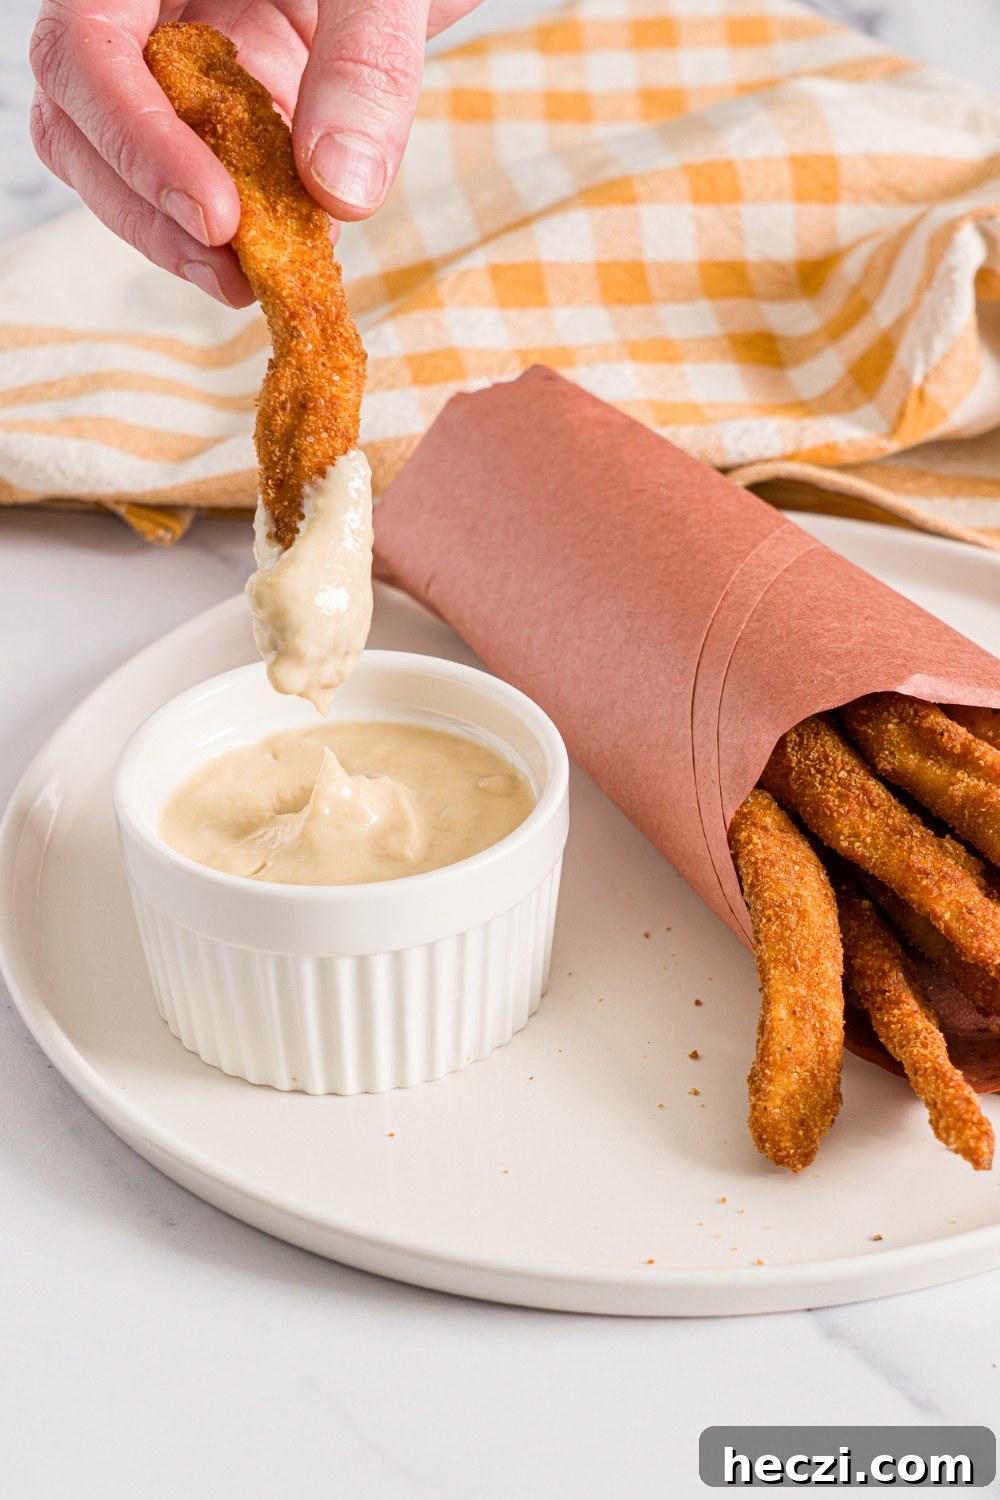
Air Fryer and Oven Options
Frying gives the most classic crunch, but the air fryer and oven are convenient and lower mess alternatives that still produce satisfying results.
- Air fryer: Preheat to 400°F. Arrange the breaded strips in a single layer, spray lightly with oil, and air fry 8–10 minutes, flipping once, until golden and cooked through.
- Oven: Bake on a wire rack over a sheet pan at 425°F for 15–18 minutes, flipping once. A quick spray of oil helps them brown and crisp like frying.
Storage, Reheating, and Make-Ahead Tips
- Refrigerator: Store leftovers in an airtight container for up to 3 days. Place on parchment or a paper towel to reduce moisture.
- Reheating: Re-crisp in the oven or air fryer at 375°F until hot and crunchy, about 6–10 minutes. The microwave will soften the coating.
- Freezing: Freeze breaded, uncooked fries on a sheet pan until solid, then transfer to a freezer bag. Cook from frozen, adding a few extra minutes as needed.
- Aioli storage: Keep the roasted garlic aioli refrigerated in a covered container for up to 4 days. Stir before serving.
- Make-ahead: Roast garlic and make aioli a day ahead. You can also bread the fries and refrigerate them on a rack for a few hours before frying.
Chicken Fries FAQs
Are these the same as Burger King chicken fries?
They’re inspired by that fast-food snack but use real chicken breast strips rather than processed nugget-style meat. The result is a cleaner, juicier bite with a homemade crunch that’s hard to beat.
Are chicken fries just chicken tenders?
They’re similar in ingredients but shaped thinner like fries, which makes them quicker to cook and more convenient for dipping and snacking.
How do I keep the breading from falling off?
Pat chicken dry, shake off excess flour and egg, and press breadcrumbs on gently. Let the coating set briefly in the oil before moving pieces around to help it adhere.
What oil is best for frying chicken fries?
Choose a neutral, high-heat oil such as canola, vegetable, or peanut oil to handle frying temperatures without adding competing flavors.
Can I make chicken fries ahead of time for a party?
Yes. Keep fried fries warm on a wire rack in a 200°F oven and serve within an hour for best texture. Re-crisp quickly in a 375°F oven or air fryer if needed just before serving.
Can I use chicken thighs instead of chicken breasts?
Yes. Thighs are juicier but a bit harder to shape. Trim into even strips so they cook evenly with the same snackable texture.
My Final Thoughts
These homemade chicken fries are crisp, flavorful, and far more satisfying than the fast-food version. The roasted garlic aioli is the perfect companion—creamy, balanced, and full of mellow garlic sweetness. Make them once and they’ll likely become a regular party or game-day favorite.
Crispy Chicken Recipes to Try Next
- Fried chicken thighs
- Fried chicken breast
- Fried breaded chicken wings
- McDonald’s-style chicken nuggets
- Crispy chicken wraps
- Buttermilk chicken tenders
Homemade Chicken Fries
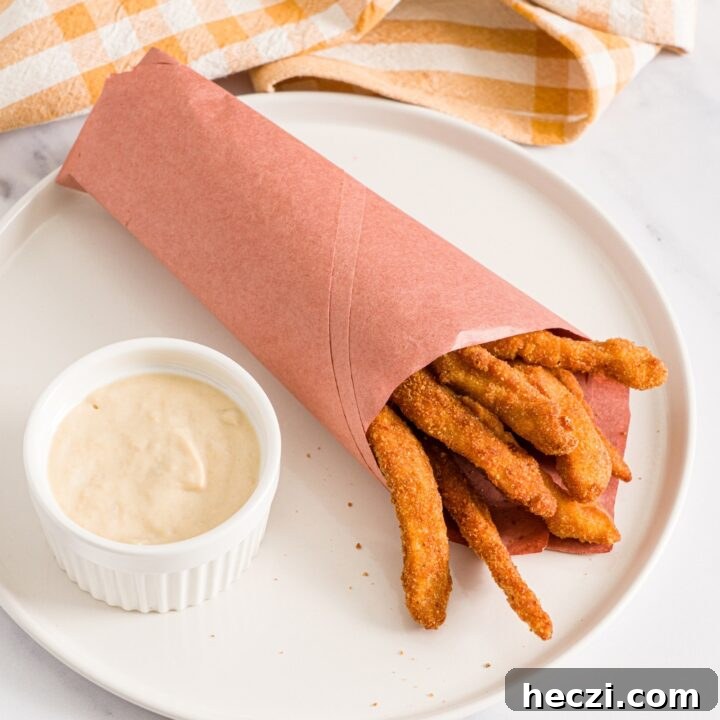
If you’ve ever opened a box of Burger King chicken fries and thought you could make them better at home, these homemade chicken fries are your answer. Crispy outside, juicy inside, and paired with a roasted garlic aioli for maximum flavor.
20 minutes
45 minutes
1 hour 5 minutes
Ingredients
- 1 garlic bulb cut in half cross-wise
- 1 tablespoon olive oil
- 1 cup mayonnaise
- 1 tablespoon lemon juice
- 1 teaspoon Worcestershire sauce
- Salt and Pepper to taste
- 1 pound thin-cut boneless chicken breast
- 1 Tablespoon garlic powder
- 1 Tablespoon onion powder
- ½ teaspoon dried red chili flakes
- 2 teaspoons Salt
- 1 teaspoon black pepper
- 1 cup all-purpose flour
- 3 large eggs
- 2 cups breadcrumbs
- Vegetable oil for frying
Instructions
Chicken Fries:
- Slice the chicken into thin strips, about ½ inch wide, so they look like French fries. Season with salt and pepper.
- Whisk the eggs in a shallow bowl. In a second bowl combine flour, garlic powder, onion powder, chili flakes, salt, and black pepper. Place breadcrumbs in a third bowl.
- Coat each chicken strip in the flour, shake off excess, dip into the beaten egg, then press into the breadcrumbs.
- Heat oil in a large pot to 350°F. Fry strips in batches, avoiding overcrowding, for 2–4 minutes per side until crisp and cooked through. Drain on paper towels or a wire rack and maintain oil temperature between batches.
- Serve hot with garlic aioli for dipping.
Garlic Aioli:
- Preheat oven to 375°F. Place a cut garlic bulb on foil, drizzle with olive oil, and sprinkle with kosher salt. Wrap and roast 30–35 minutes until soft and golden.
- Squeeze roasted garlic into a bowl, mash to a paste, and mix with mayonnaise, lemon juice, Worcestershire sauce, salt, and pepper. Chill before serving.
- Store covered in the fridge for up to 4 days.
Nutrition Information:
Yield:
4
Serving Size:
1
Amount Per Serving:
Calories: 1463
Total Fat: 66g
Saturated Fat: 12g
Cholesterol: 262mg
Sodium: 2536mg
Carbohydrates: 145g
Fiber: 9g
Sugar: 9g
Protein: 64g